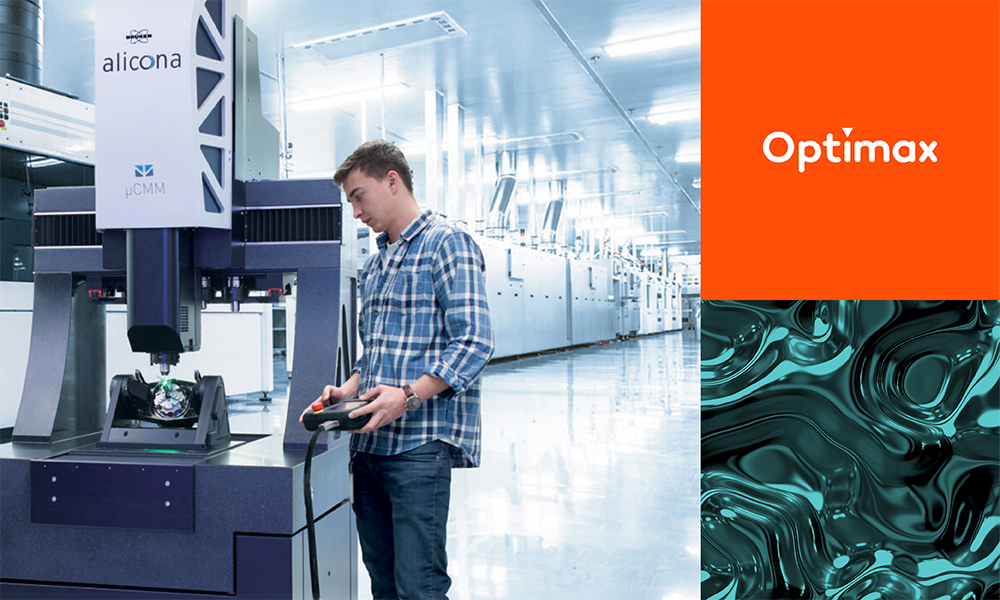
Where would you use the Bruker Alicona Optical MicroCMM?
The Bruker Alicona MicroCMM is an optical 3D coordinate measuring machine (CMM) that combines advanced optical metrology with the accuracy of traditional tactile CMMs. It is suitable for a wide range of applications where detailed and precise measurements of small surface features on larger components are critical.
The operating principal used is non-contact, optical, three-dimensional measurement based on Advanced Focus Variation using electronically controllable high power LED coaxial illumination (colour). The measurement volume is 310 mm x 310 mm x 310 mm = 29 791 000 mm³ and can create a single measurement of 2.95Mio measurement points providing remarkably high accuracy
3D Accuracy, according to 10360-8, EUni:Tr:ODS,MPE = (0.8 + L/600) μm (L in mm) Axis accuracy based on ISO 10360-8. EUniZ:St:ODS,MPE = (0.15 + L/50) μm (L in mm) Valid for single measurements, height step measurements.
In standard form it is a 3-Axis system, the addition of the Real3D rotation/tilt device creates a 5-Axis system. This allows complete full form geometry measurements of complex component geometries, analysis of complex profiles and the measurement of flat and curved components and verification of form deviations. By creating a digital twin of the component, target-actual comparisons to CAD data are possible.
The addition of Vertical Focus Probing technology also allows the internal measurement of holes and internal recessed features.
What can I measure with a Micro CMM
Instead of asking how do I measure, the Alicona Micro CMM makes the process so easy that the question people show be asking is now what can I measure? This is the core thinking behind MetMax, the µCMM operating software. With the smart 3D metrology software MetMaX simply upload your part’s CAD data, select the desired GD&T or PMI features, and MetMaX takes care of the rest. The user-friendly design allows users to maximize the measurement system’s potential without needing specialised metrology or user knowledge. This improves efficiency, saving time, and improving production precision. Measurement capabilities include Surface Roughness, Surface Texture, Step Heights, 3D Profiles, Form Measurement and Complex Profiles on most material surfaces.
Using optical technology, the MicroCMM performs non-contact measurements, which is crucial for delicate or soft materials that could be damaged by traditional contact methods. With this advantage it can measure various surface types and materials, including metals, ceramics, polymers, and composites, without requiring special preparation.
The application areas for the MicroCMM are wide and include
Precision Engineering and Manufacturing
Micro-Machining: The MicroCMM can measure and inspect components produced by the micro-machining processes.
Tool and Die Inspection: To verify the dimensions and surface quality of moulds and dies.
Aerospace and Automotive Industries
Component Inspection: To inspect complex components such as turbine blades, gear teeth, and injection nozzles.
Surface Finish Measurement: Surface roughness and texture on formed and free formed surfaces.
Medical Device Manufacturing
Implants and Prosthetics: Measuring the complex geometries of medical implants and prosthetics.
Research and Development
Material Science: Used to study the microstructure of new materials, providing detailed insights into their properties and behaviours.
Metrology Research: Can be used to develop new metrology techniques and standards.
Electronics and Semiconductor Industry
Component Inspection: Inspection of electronic components and semiconductor wafers for defects and dimensional accuracy.
Surface Features: Topography of circuit boards and other electronic assemblies, ensuring they meet design specifications.
Quality Control and Assurance
Production Line Integration: The MicroCMM can be integrated into production lines for real-time quality control.
Automated Inspection: In high-volume production environments where consistency and speed are crucial automated measurements and analysis makes it an invaluable tool.
The Bruker Alicona MicroCMM is a versatile and precise measurement system suitable for use in a wide variety of industries. Unlike a traditional CMM the advanced optical metrology capabilities allow the measurement of both form and finish in using single sensor and the addition of Real3D capabilities allow for the 5 Axis inspection of round components such as cutting tools.
Utilising MetMax allows an operator to easily set up measurement routines without the need of in-depth metrology knowledge.


