A global business demand micro-precision measurement and inspection of machined parts
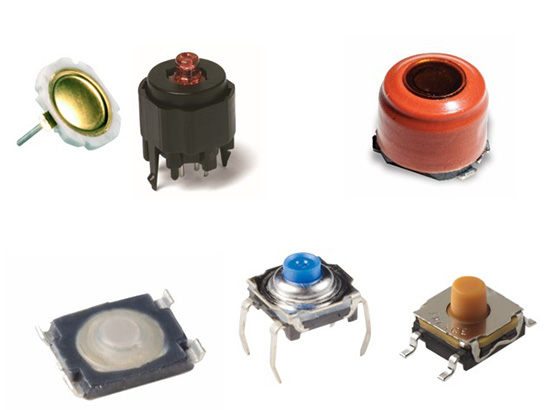
C&K is a manufacturer of a wide range of micro switches used in many applications world-wide. The business offers more than 55,000 standard products and 8.5 million switch combinations in many different designs used in the industrial, automotive, consumer electronics, telecom, space, and medical sectors. Manufacture of these switches and other machined parts require the accurate inspection and measurement of both micro finish and micro geometry. As some of these products are safety critical, these accurate measurements are vital; switches could fail in use or become stuck in an inoperable condition.
Our micron tolerance level machines met the brief for automated part inspection
The main application is the validation and inspection of machined parts in wire EDM (Electrical Discharge Machining), sinker EDM or HSM (High Speed machining), by fitting and comparing the scanned datasets with the nominal shapes from CAD files. The tolerances are in the range of a few microns. By measurement of the stamping tools and dies used to manufacture these products, they can maximise tool life by measuring wear against CAD models. These components are very small, as can be seen in the 3D models produced by the InfiniteFocus in the illustrations below. According to Mr Gagey, they are very challenging to measure; with shiny surfaces and a complex form. These small machined parts require the fusion of several 3D data sets with high precision. The Bruker Alicona system fitted with the Advanced Real3D rotation device achieves this, automatically producing high quality, dense and robust 3D models that can easily be compared against original CAD data.
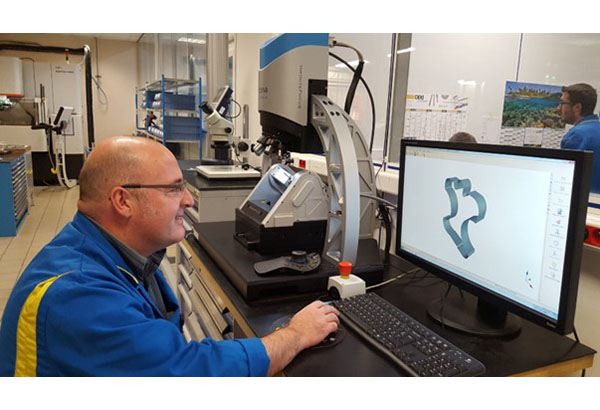

The Bruker Alicona InfiniteFocusG6 optical 3D measurement system with an advanced real 3D Rotation Unit
We recommend The Bruker Alicona InfiniteFocusG6 optical 3D measurement system with an advanced real 3D Rotation Unit (an upgrade from the G5 shown above with Laurent Gagey of C&K) to solve these challenges. The geometric measurement, surface profile and finish data has helped improve quality in the manufacture of these switches, tackling the complexity of these parts as demonstrated in the image.

