How can you measure to meet compliance?
In the automotive supply chain, the dimensional and contour accuracy of Micro-precision components for high-pressure control valves is critical, requiring that suppliers and subcontractors provide assurances of compliance. These assurances are particularly critical with petrol and diesel injection systems, where extreme pressures combine with the systems’ safety-critical nature.
In looking for a solution, the manufacturer requires a measurement system that will provide accurate measurements of dimension, form, angle, and surface finish without causing any physical damage to the valve seat.
Our solutions significantly decrease defect rates
A manufacturer has successfully utilized Bruker Alicona optical 3D surface measurement to reduce production costs. The instrument’s precision in analysing valve sealing and leakage issues related to the geometrical properties of seats has allowed for refined designs, leading to a significant reduction in defect rates.
When combined with control electronics, the valve seats’ precise roundness and surface finish are crucial in ensuring accurate and repeatable metering. Alicona’s capability to analyse the contour accuracy of valve seats for the smallest deviations sets it apart from tactile systems, offering flexibility and accuracy. The system excels in measuring difficult-to-access geometries and analysing critical surface profiles.
Challenging tolerances, typically in the 1-2 µm range, are effectively addressed, especially considering the small opening angle of the valve seat cone. Focus variation enables the measurement of small radii and flanks of up to 90°, surpassing tactile and traditional optical methods.
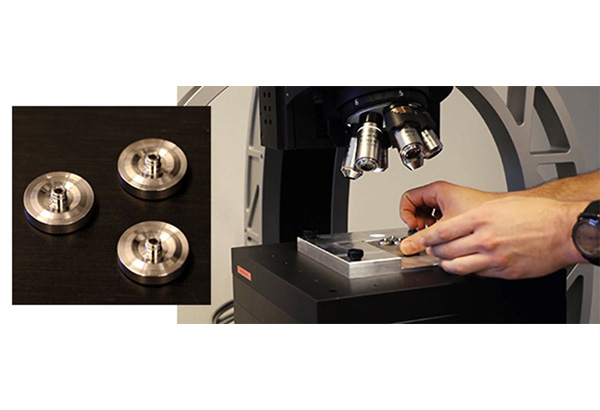
Concentricity must be reliably assessed to less than 10 µm to maximise service life and prevent one-sided wear on sealing surfaces. The Infinite Focus measuring system and the highly precise Advanced Real3D Rotation Unit automate component measurement from multiple directions, merging the results into a high-precision 3D dataset.

The InfiniteFocus G6
We recommend the InfiniteFocus G6 system fitted with an advanced 3D rotation device. By using IF-AdvancedReal3DRotationUnit, it is possible to measure components around 360° in high resolution, providing an accurate analysis of the different required dimensions. This guarantees robust and repeatable quality control in addition to an optimization of manufacturing processes. The Bruker Alicona measurement system also allows for measuring profile and area-based roughness conforming to ISO 4287, 4288, and ISO 25178. User-friendly handling and easy automation using the measurement inspection module.

